 |
| My fiddy cent tree skirt. |
From the second year of my marriage up until last year I had a gorgeous velvety blue and silver tree skirt. So what happened last year? Well, I won't name names, but a certain potty training toddler (who still is not potty trained) pulled it out from under the tree and peed on it. And you better believe that if she ever gets married, I'm telling that story at her wedding.
I immediately started shopping for a new skirt and found tons of beautiful ones. The problem was that I didn't want to pay good money for something that will, most likely, be destroyed before Christmas even gets here. Having a toddler and three cats tends to be hard on the decor.
While browsing the clearance section at Walmart last year, I found a plain felt tree skirt for, get this...fifty cents! Perfect! I had a whole year to decorate it. It was going to be fab! Visions of faux fur trim and feathers danced in my head...and then was promptly pounced on by visions of the cats eating the faux fur trim and feathers.
After a year of waffling, I had to make a decision. Especially since Seán put up and decorated the Christmas tree and the naked base made me sad. I pulled out my paints and went to town on it. An hour later I had a reasonably cute tree skirt. Here's how it was done.
Ingredients:
- Tree Skirt Blank
- White, Gold, & Blue Acrylic Paint
- White Dimensional Fabric Paint
- Blue & Gold Glitter Glue
- White Ribbon
- Glue Gun & Glue
- Freezer Paper
- Pencil
- Craft Knife
- Snowflake & Star Punches
- Sponge Brush (preferably pouncer style)
I started by freehand drawing a Christmas tree outline on freezer paper and carefully cut it out with a craft knife.
 |
| Creating my stencil. |
I figured out my placement using the fold lines on the skirt. Yeah...I don't iron unless I can't get away with it.
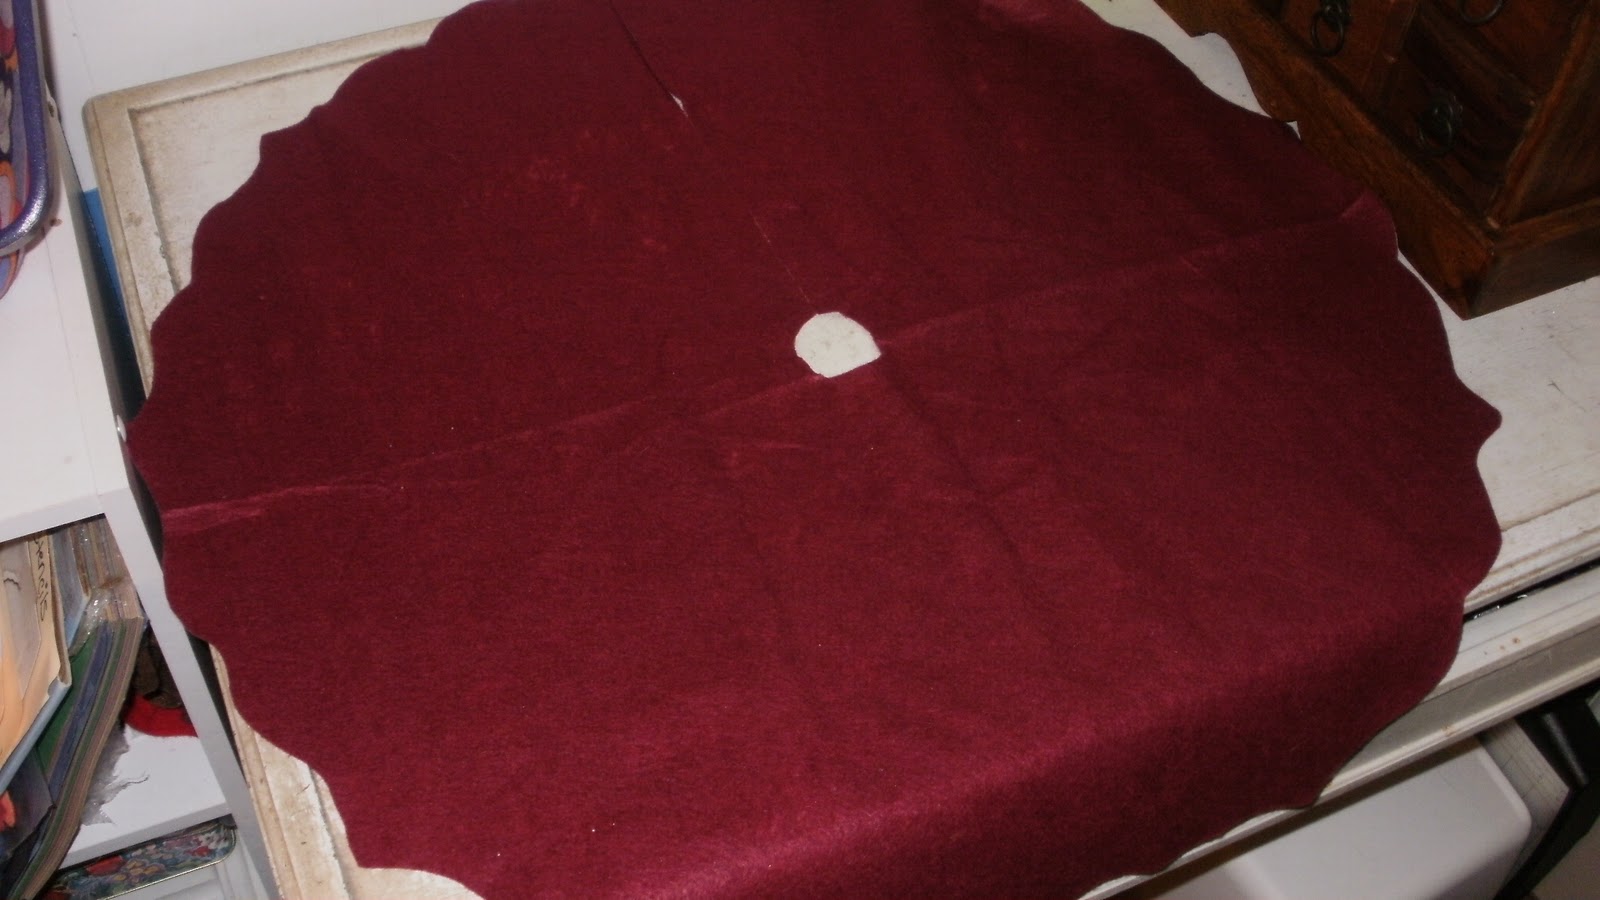 |
| Tree skirt blank. |
 |
| Stenciled tree |
I must have been in craft-mode, because I didn't get photos of the next steps. I used punches to make a star shape and a snowflake shape in small pieces of freezer paper and then randomly stenciled them. The stars in gold went on the trees, the snowflakes in blue on the background. I then used blue glitter glue on the snowflakes and gold glitter glue on the stars and on the stars on the tops of the trees.
After I was satisfied with that, I used white dimensional fabric paint around the edges to simulate a decorative stitch. When everything dried (I let it sit overnight), I used white grosgrain ribbon to make a tie at the top of the skirt. You could sew it on, but hot glue is fast and easy.
 |
| The backside won't be seen. Thank goodness! |
One tip: make sure your work surface is covered before you start. The paint will seep through. And the glitter glue. That stuff loves to seep.
 |
| Oh, Christmas Tree! |
This whole thing, excluding drying time, took maybe an hour. If this thing bites the dust, no worries. It was just fifty cents and an hour of my time. Strangely, the cats and the toddler seem to be ignoring it altogether. Yay! Maybe I'll be able to use it again next year.
Fabulous! Though I find it interesting that the toddler gets the blame for destruction of the old one, and not the person who put it in the dryer :P
ReplyDeletelol Yeah...I still won't name names, though. :D
ReplyDelete